Photo 101: F-Stops, Shutter Speeds and ISO

Putting F-stops, shutter speeds and ISO together for creative control
Now that we understand f-stops, shutter speeds and ISO settings, we need to manipulate them to improve our photos. F-stops, shutter speeds and ISO settings are the tools photographers use to “create images” instead of merely “take pictures.”
All three settings change exposure and all can be tweaked to accommodate the others. Faster shutter speeds require large apertures (small f-stop numbers) and/or higher ISO speeds. Increased focus depth, foreground to background, requires slower shutter speeds and/or higher ISO speeds. Higher ISO speeds allow you to choose faster shutter speeds and smaller apertures. Choose. Change. Manipulate to control your images. Let’s consider some shooting situations and play with these settings.

1/1,250 sec. shutter speed was enough to stop this flying mallard, but note how the wing tips are slightly blurred. That could be a combination of insufficient shutter speed and the limited depth-of-focus from the f/5.6 aperture used.

1/160 sec. wasn't nearly fast enough to stop this flushing American wigeon shot at f/6.3 with a 400mm lens.
Hypothetical shooting scenarios
Flying bird. Some big, slow birds can be “frozen” at 1/250, but most need 1/500 or faster. To be safe, use 1/1000. This requires bright light, a wide-open aperture and usually a fairly high ISO setting. If you choose a wide open aperture, say f-4 on a 400mm telephoto, you’ll probably need to crank up your ISO setting to reach 1/1000 second shutter. On gray days you may need ISO speeds above 3200. This increases noise, but that’s better than a blurry subject. Experiment with ISO settings in your camera to understand its levels of noise.
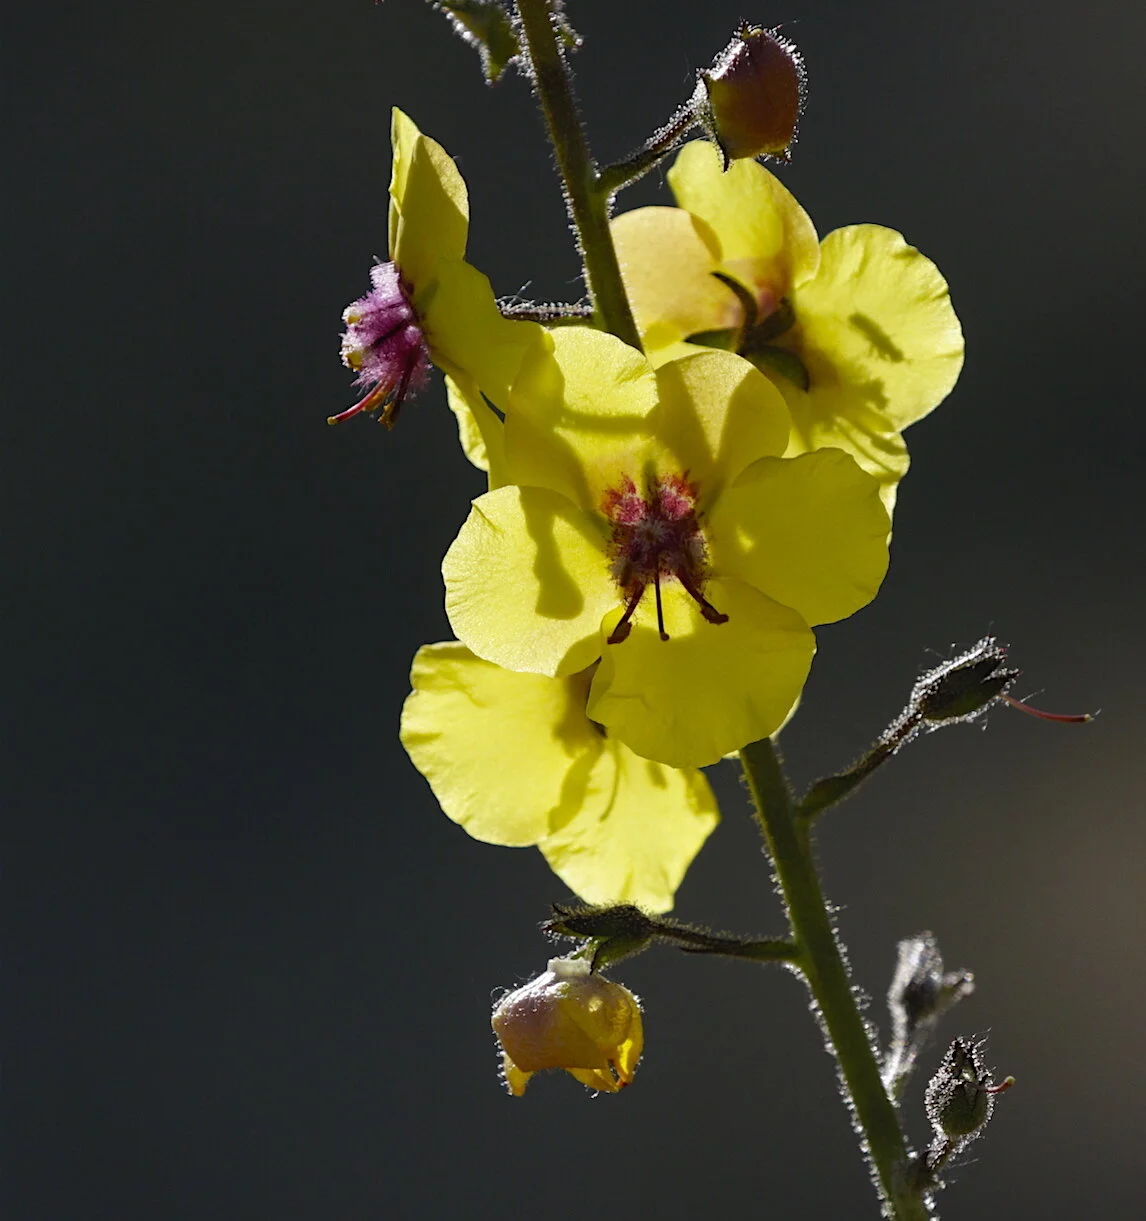
Flowers in the wind. A blowing flower can blur at 1/250 sec., but you probably don’t want to gain shutter speed by opening the aperture on this shot. Why? Because small flowers require a close approach and close focus, which limits depth of field. To compensate, you’ll want to stop down to f-16, f-22 or f-32. You may need to crank up ISO on this one. Because flowers are soft or suggest delicacy, avoiding ISO noise can be a significant esthetic choice, in which case you’ll have to wait for calm conditions to get your shots.
Landscape on a calm day. Let’s say you have a field of wildflowers in the foreground with green hills rising beyond and mountains jutting into a blue sky — and you want all of it sharp. If you can steady the camera on a tripod or bean bag, shutter speed can go as low as necessary for proper exposure. This frees you to select both a small aperture (big f-stop number) for maximum depth and small ISO number for minimal noise. Just be certain the wind isn’t blurring your foreground flowers.
Super-telephoto shot of a ground squirrel. Let’s say you’re using a 600mm lens and trying to freeze a ground squirrel that’s popping in and out of the grass. First, you’ll have to be darn good at focusing or use an effective auto-focus. Then you’ll need to set a shutter speed sufficient to stop — yourself, not the squirrel. The rodent will freeze many times as it pops in and out of view. You, however, will not be able to hold that long lens without shaking it. The general rule for steadying a handheld camera is to use a shutter speed equal to or faster than your lens’ focal length expressed as a fraction. So, with a 28mm wide-angle lens, you’d want 1/30 second or faster. A 200mm lens calls for 1/250 and that 600mm lens needs 1/600th. I’d go for 1/1000. This, of course, may mandate a big aperture or high ISO speed to accommodate the proper exposure. A tripod mount for the camera will also eliminate camera shake, but it can slow down your response time for framing and focusing the critter.

By prefocusing on a spot where this arctic ground squirrel had been popping up and shooting ISO 500, f/6.3, I was able to freeze not only the squirrel, but the fun of his neck being blown by the Arctic wind.
These few hypothetical examples should start you thinking about how f-stops, shutter speeds and ISO settings can be manipulated to improve your pictures. As you approach your shots, try to assess which settings will be most appropriate for each situation. Then study the finished shot to figure out what worked, what didn’t, and how you might modify f-stop, shutter speed and ISO settings in the future.
# # #