Photo 101: Five Free Camera Stabilizers
Here Are Five of The Best, Steady, Ready, Free Camera Stabilizers
As an outdoor photographer you must train yourself to grab a camera support wherever you can find it. You don’t always have time to set up a tripod. Here are five free camera stabilizers you can grab in a hurry.
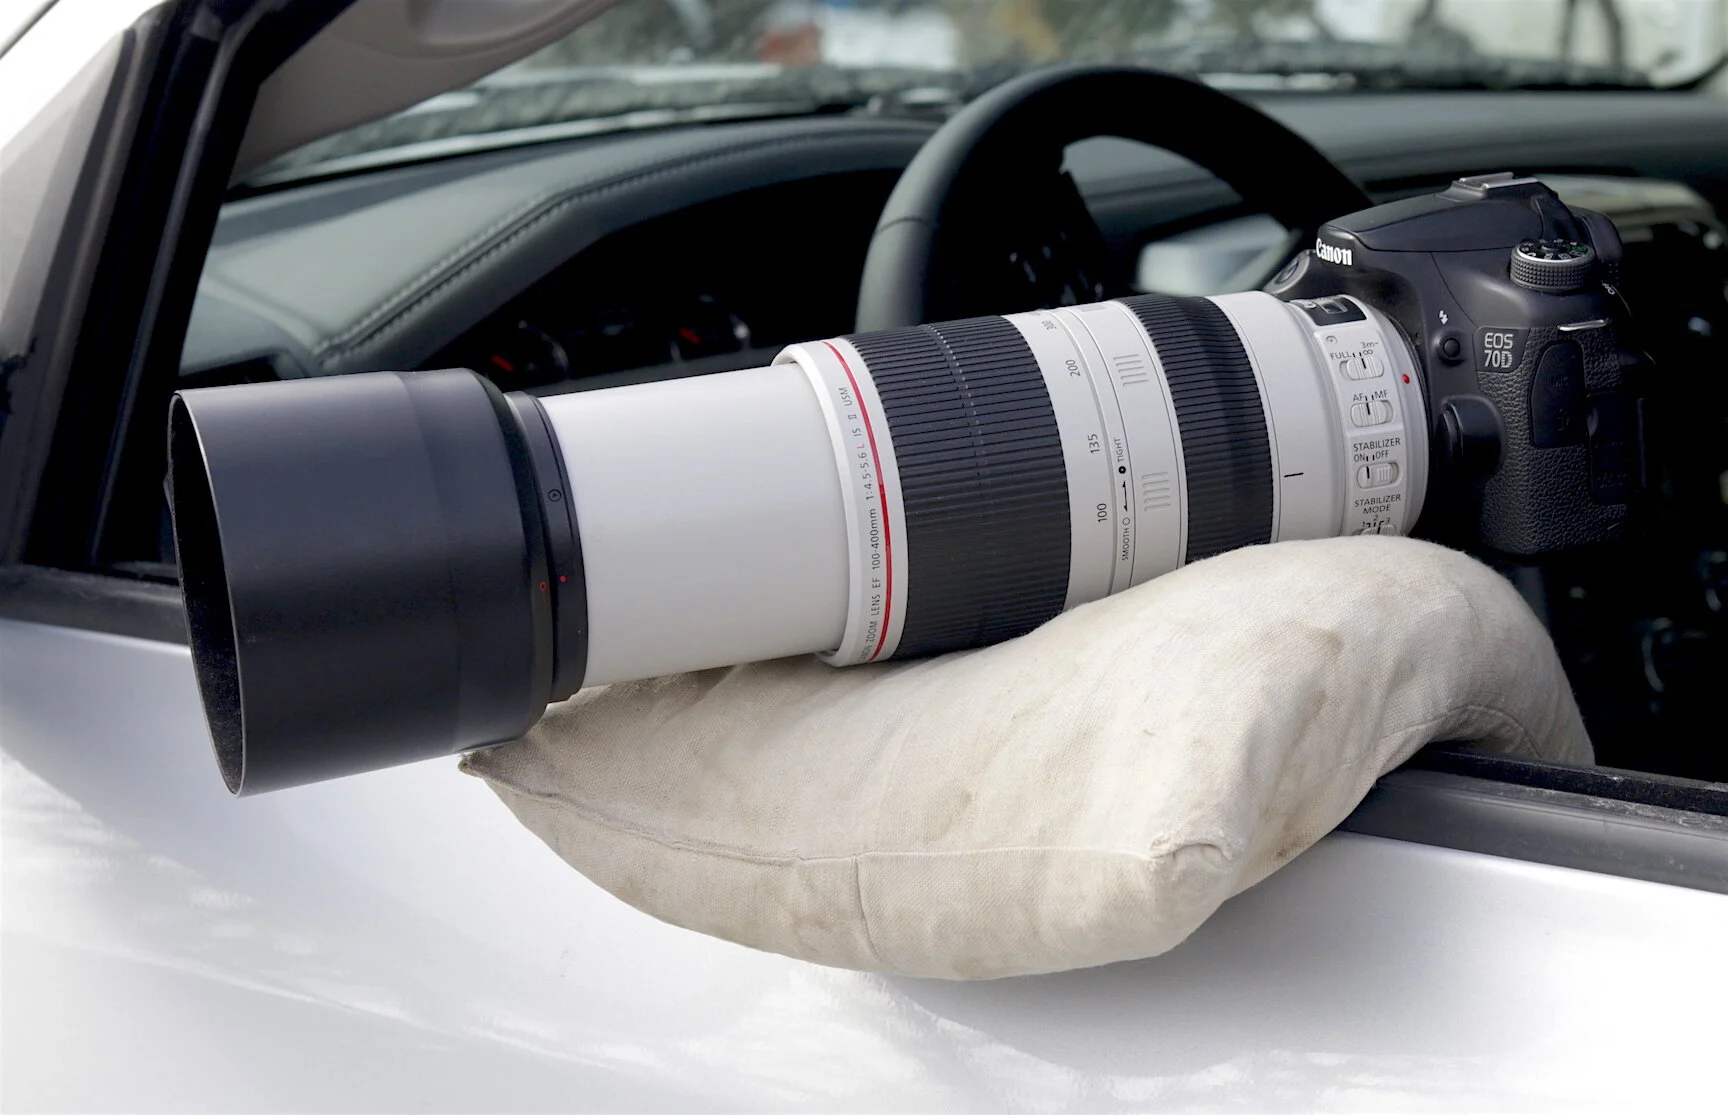
1.Bean Bag. Fill an old pant leg with dried beans, rice or corn and sew the ends shut. Make it long enough to reach from the base of your camera body to the front of your longest telephoto. (This blog highlights my favorite telephoto for wildlife, and you can order one here.) Now you’ve got a firm base on which to hold your big lens steady. Lay this bag on your car door with the window down. Plop it on the ground, over a rock, on a tree limb or picnic table. Stand it on end, lay it sideways to accommodate a short lens. You can even rest it over your knee and get surprisingly steady results. The mass of shifting grains absorbs most of your wiggles and wobbles. If you don't sew and just want to buy a bean bag, this looks like a good option. (Tech tip: bean bags usually slide smoothly across flat and slick surfaces, making it possible to shoot video from them while panning with the subject.)
free-camera-stabilizer-bean-bag
2.Wall. Press your camera against any wall, fence, cliff or other vertical surface. Putting the flat bottom of the camera body against the flat surface is best, but sometimes you can push one corner of the camera body plus the front of a lens into the wall. Experiment. Contort. To angle the lens farther out, stick a folded shirt or jacket against the wall first to create a raised contact area. Folded cloth protects both camera and wall from mutual scratches, too.
3. Car window sill and mirror. Two contact points are the key for these ubiquitous free camera stabilizers (well, if you consider $25,000 vehicles free.) If you’ve forgotten your bean bag, try resting the front of the lens on the vehicle’s mirror, the body on the window sill. To tweak height and angle, add gloves, shirts, a book — anything you’ve got — atop the window sill. Trying rolling the window up and down to precisely aim your lens and frame that shot. Using this technique, I was able — with a 2 second exposure! — to capture a sharp image of the moon rising behind a windmill. F-stop was f/11 to keep both windmill and moon sharp. I put a glove on the sill, a Leupold binocular atop that and another glove, folded, atop the binocular to line up the shot. (Tech tip: with this and all shots taken from creative stabilizers, try shooting at the fastest shutter speed possible. But, if you need maximum depth-of-focus a small aperture gives you, don’t hesitate to shoot much slower shutter speeds.)

windmill-at-moonrise
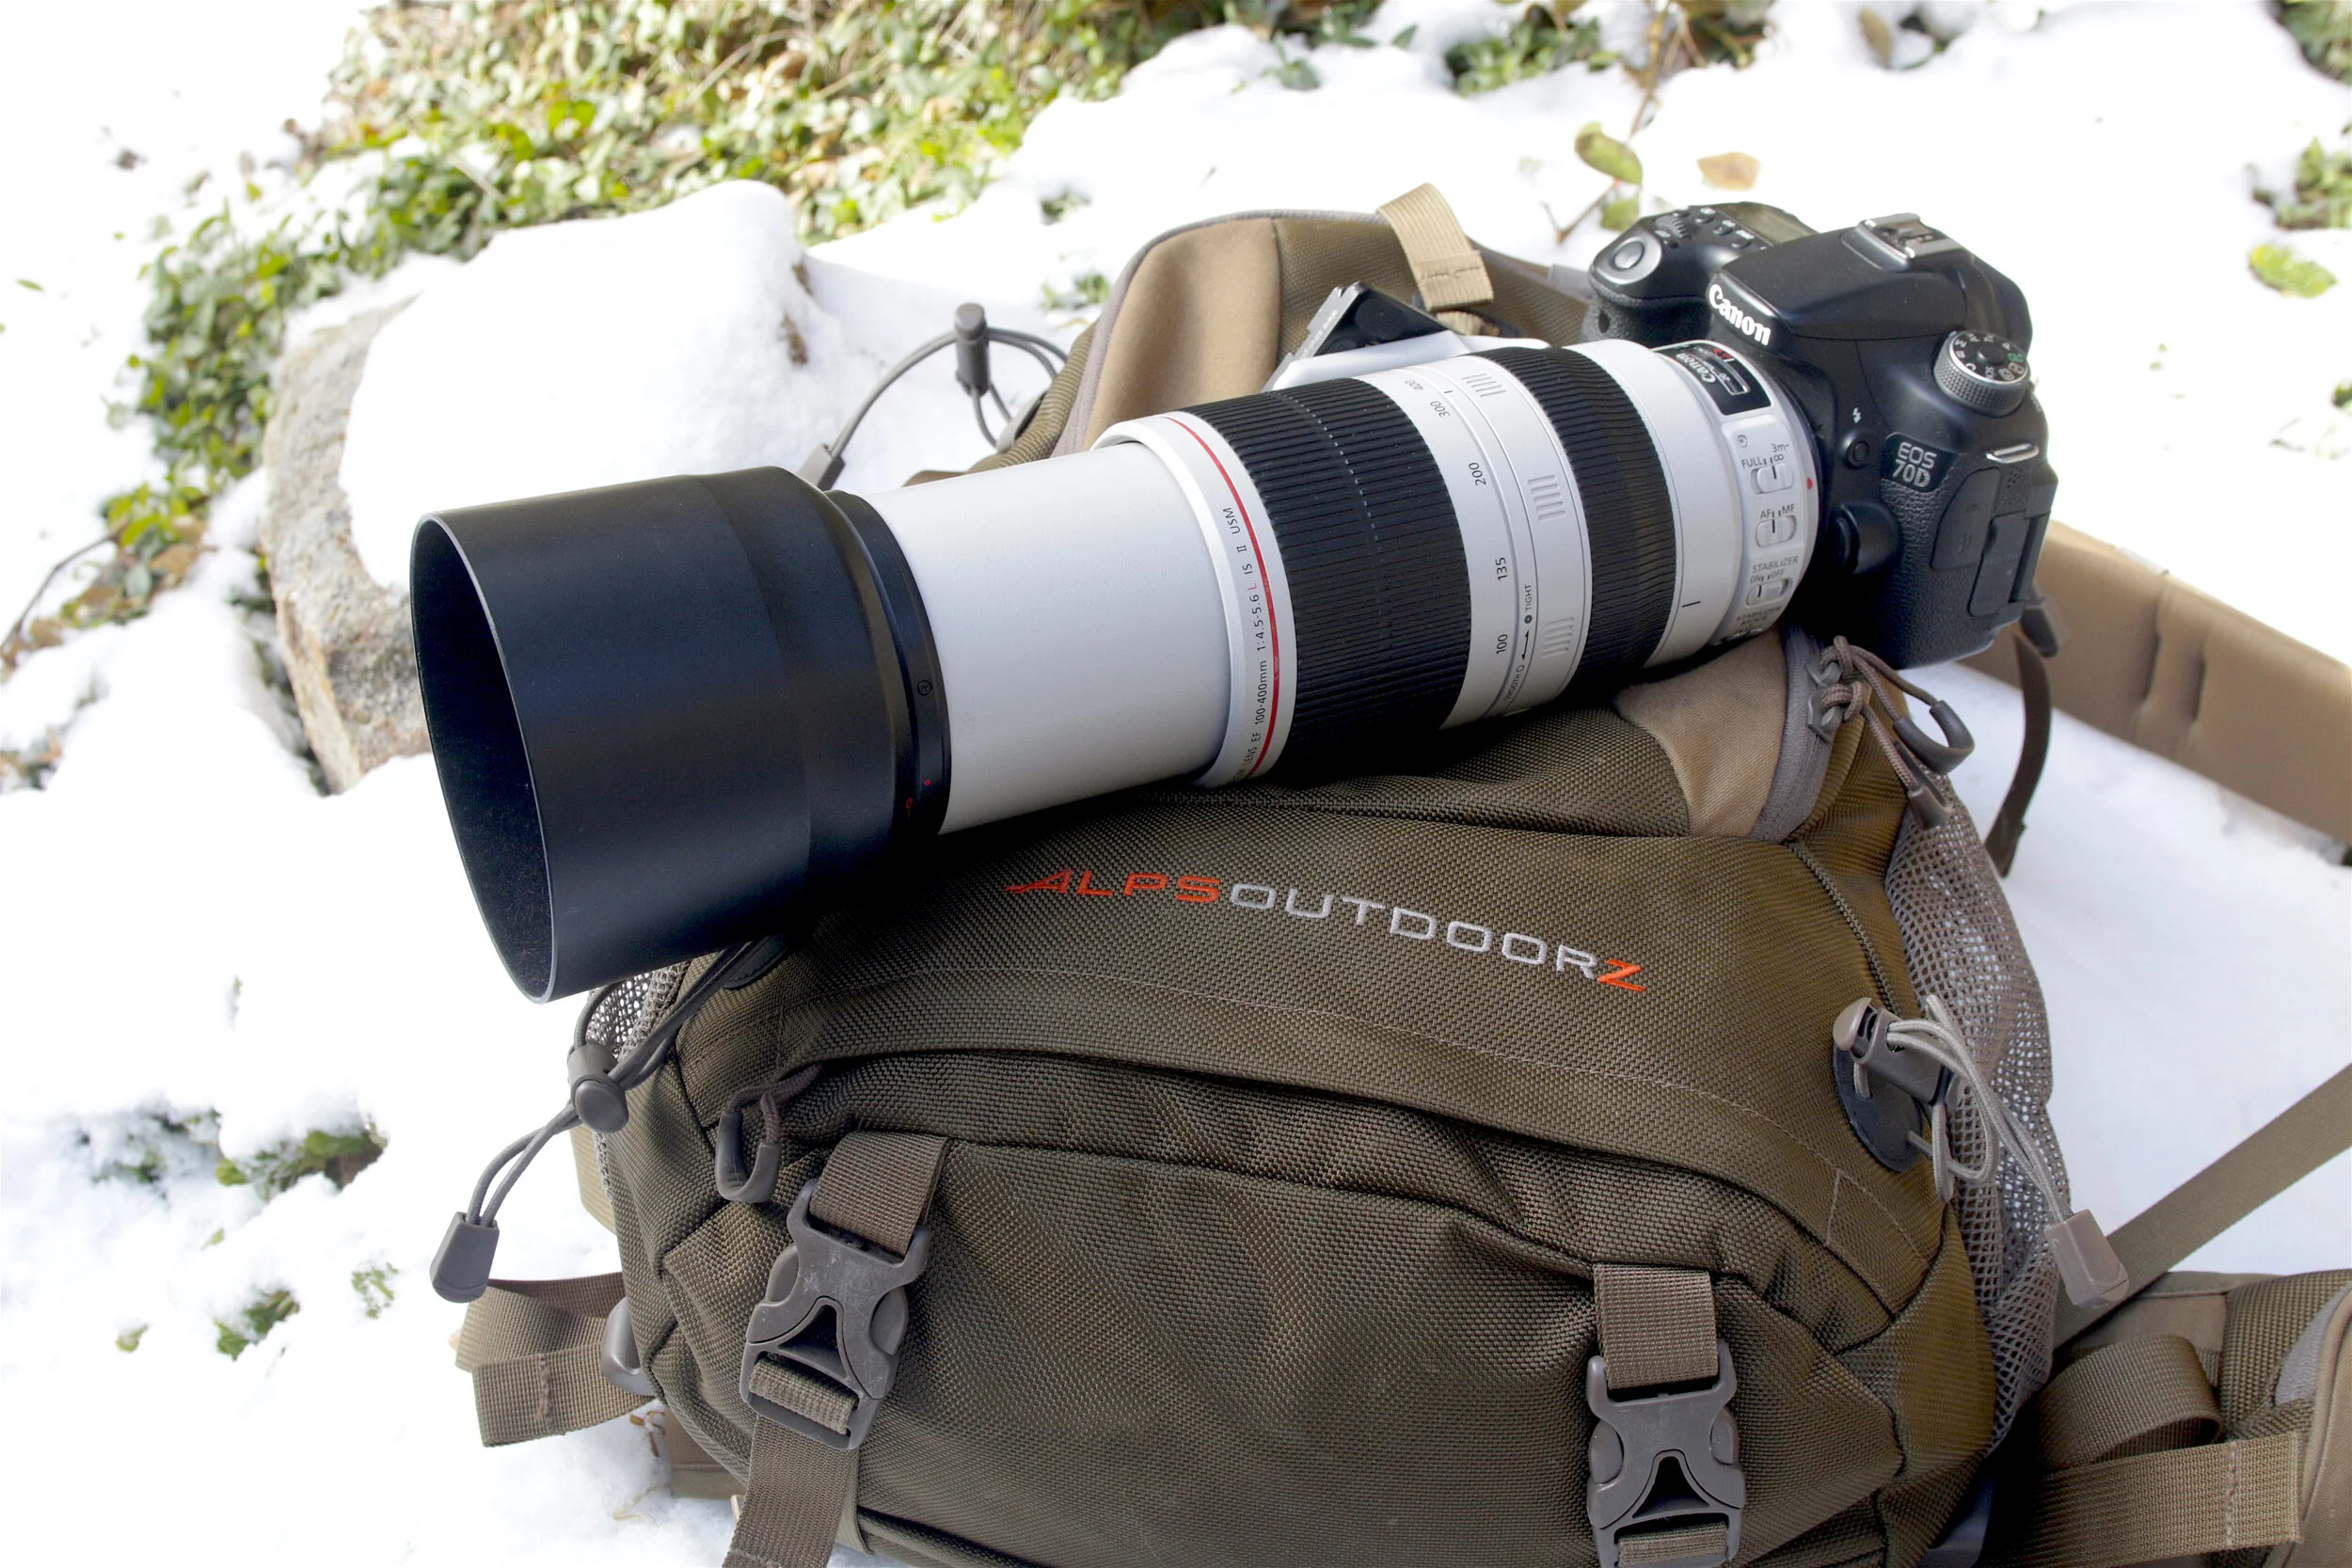
4. Camera Bags and Backpacks. If you’re carrying a pack or bag for your camera gear, you might as well work it overtime as a free camera stabilizer. Lay it flat or stand it on end for extra height and experiment with pressing or resting your camera in its folds for maximum steadiness. Add a small beanbag to the rig for even better support. Stuff your jacket inside if you need more bulk. (Tech tip: Press down firmly into your bag to eliminate tremors or, if the camera and lens perch steadily, expose with your delayed time release or digital remote.)
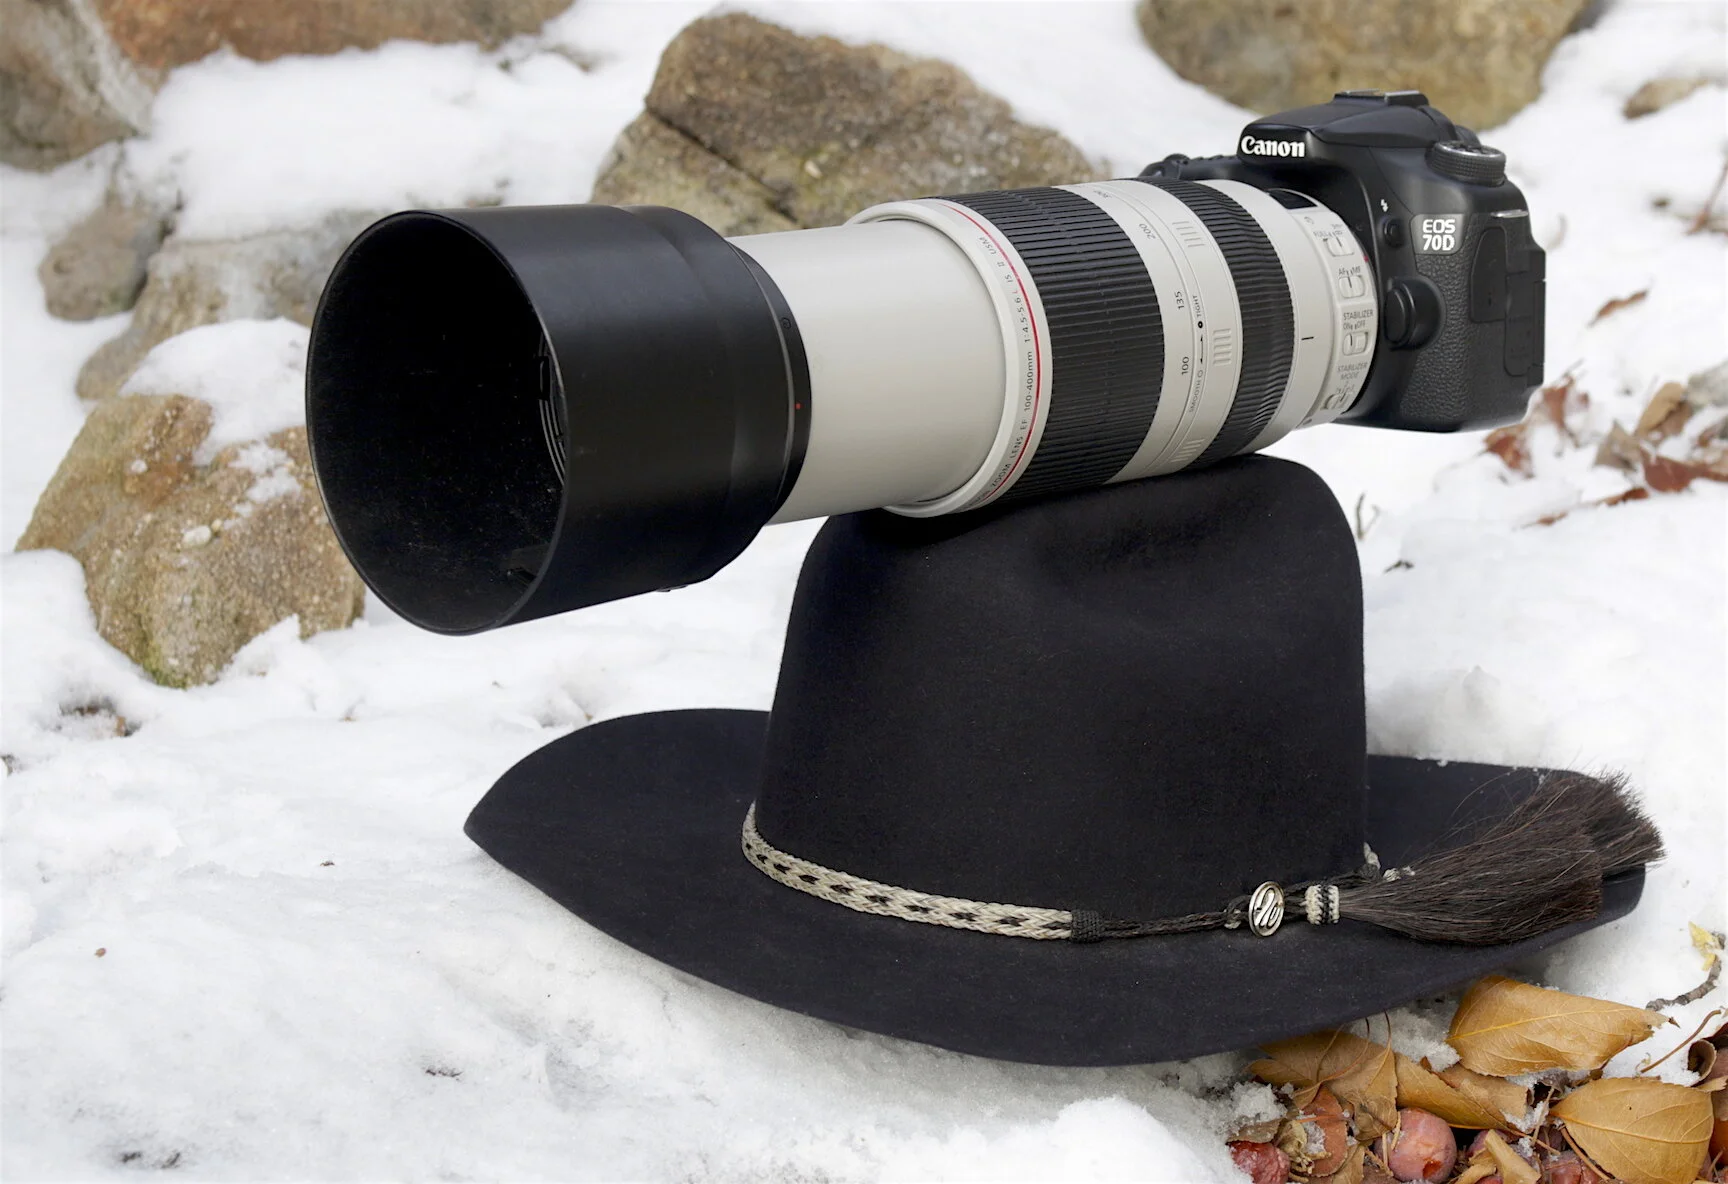
5. Boots and Cowboy Hat. Desperate times call for desperate measures. The center groove in a stiff cowboy hat is a natural cradle for a camera and lens. Plop the hat on the ground, on a ledge, tree limb or boulder to gain your needed height, then gently press the camera and lens into the handy felt channel and squeeze off a steady shot. If you’re not into cowboy hats, try whipping off your boots, positioning them so they hold camera and lens steady and shoot away. (Tech tip: things might be steadiest if you shoot “hands off” with your delayed release timer. A 2 second delay should suffice.)
free-camera-stabilizer-hat
Conclusion and final Tech Tip: You can find free camera stabilizers in a lot of places. Try any stable objects. Concentrate on a smooth, shake-free shutter squeeze and hold it with your motor drive set on high speed. Often your 2nd, 3rd or 4th exposures are the steadiest.
# # #