Accurize It

So your hot new rifle isn't exactly living up to your expectations? Not exactly shooting lights out? Well then, accurize it.
“Accurize” may not be a legitimate word, but rifle nuts know what it means – "do whatever it takes to make your rifle shoot MOA or better." And it doesn't take a gunsmith to do it.
How Much Accuracy Do You Need?
Before messing with the hardware, define accuracy for YOUR needs. Do you really need a 1/2 MOA shooter? A rifle that groups three-shots into a two-inch circle at 100 yards, every time (2-MOA), is more than accurate enough for deer out to 300 yards. Really. A 2 MOA rifle will put each shot no more than one-inch from where you aim at 100 yards, two-inches at 200 yards, three-inches at 300 yards. The average deer's chest/vital area is at least ten inches in diameter. Aim for its center and you aren't going to miss if your bullet lands three inches from where you aimed.
But of course, no real marksman wants to settle for a 2 MOA gun! Coyote, woodchuck and prairie dog hunters shoot at six- to two-inch vital zones. Sometimes those tiny targets are 600 yards away. For this, one-MOA is not good enough, and one-half-MOA barely makes the grade. So, you establish your required level of accuracy, then work to build it.
Step by Step Accurizing
First, clean the barrel interior before test-firing for group size. A good cleaning has turned dirty, three-MOA rifles into one-MOA death rays. After cleaning with the usual powder solvent, clean again with a copper remover solvent (CR-10, Gunslick Copper-Klenz, Montana Xtreme, etc.) and scraping with a tight Brownell's Brass Core Bronze Brush or stiff nylon brush on a one-piece Dewey or Gunslick rod. Some shooters make 10 passes with the brush for every shot fired. I usually push and pull 50 times, adding additional solvent to the bristles every 10 passes or so before pushing out the slurry with a patch.
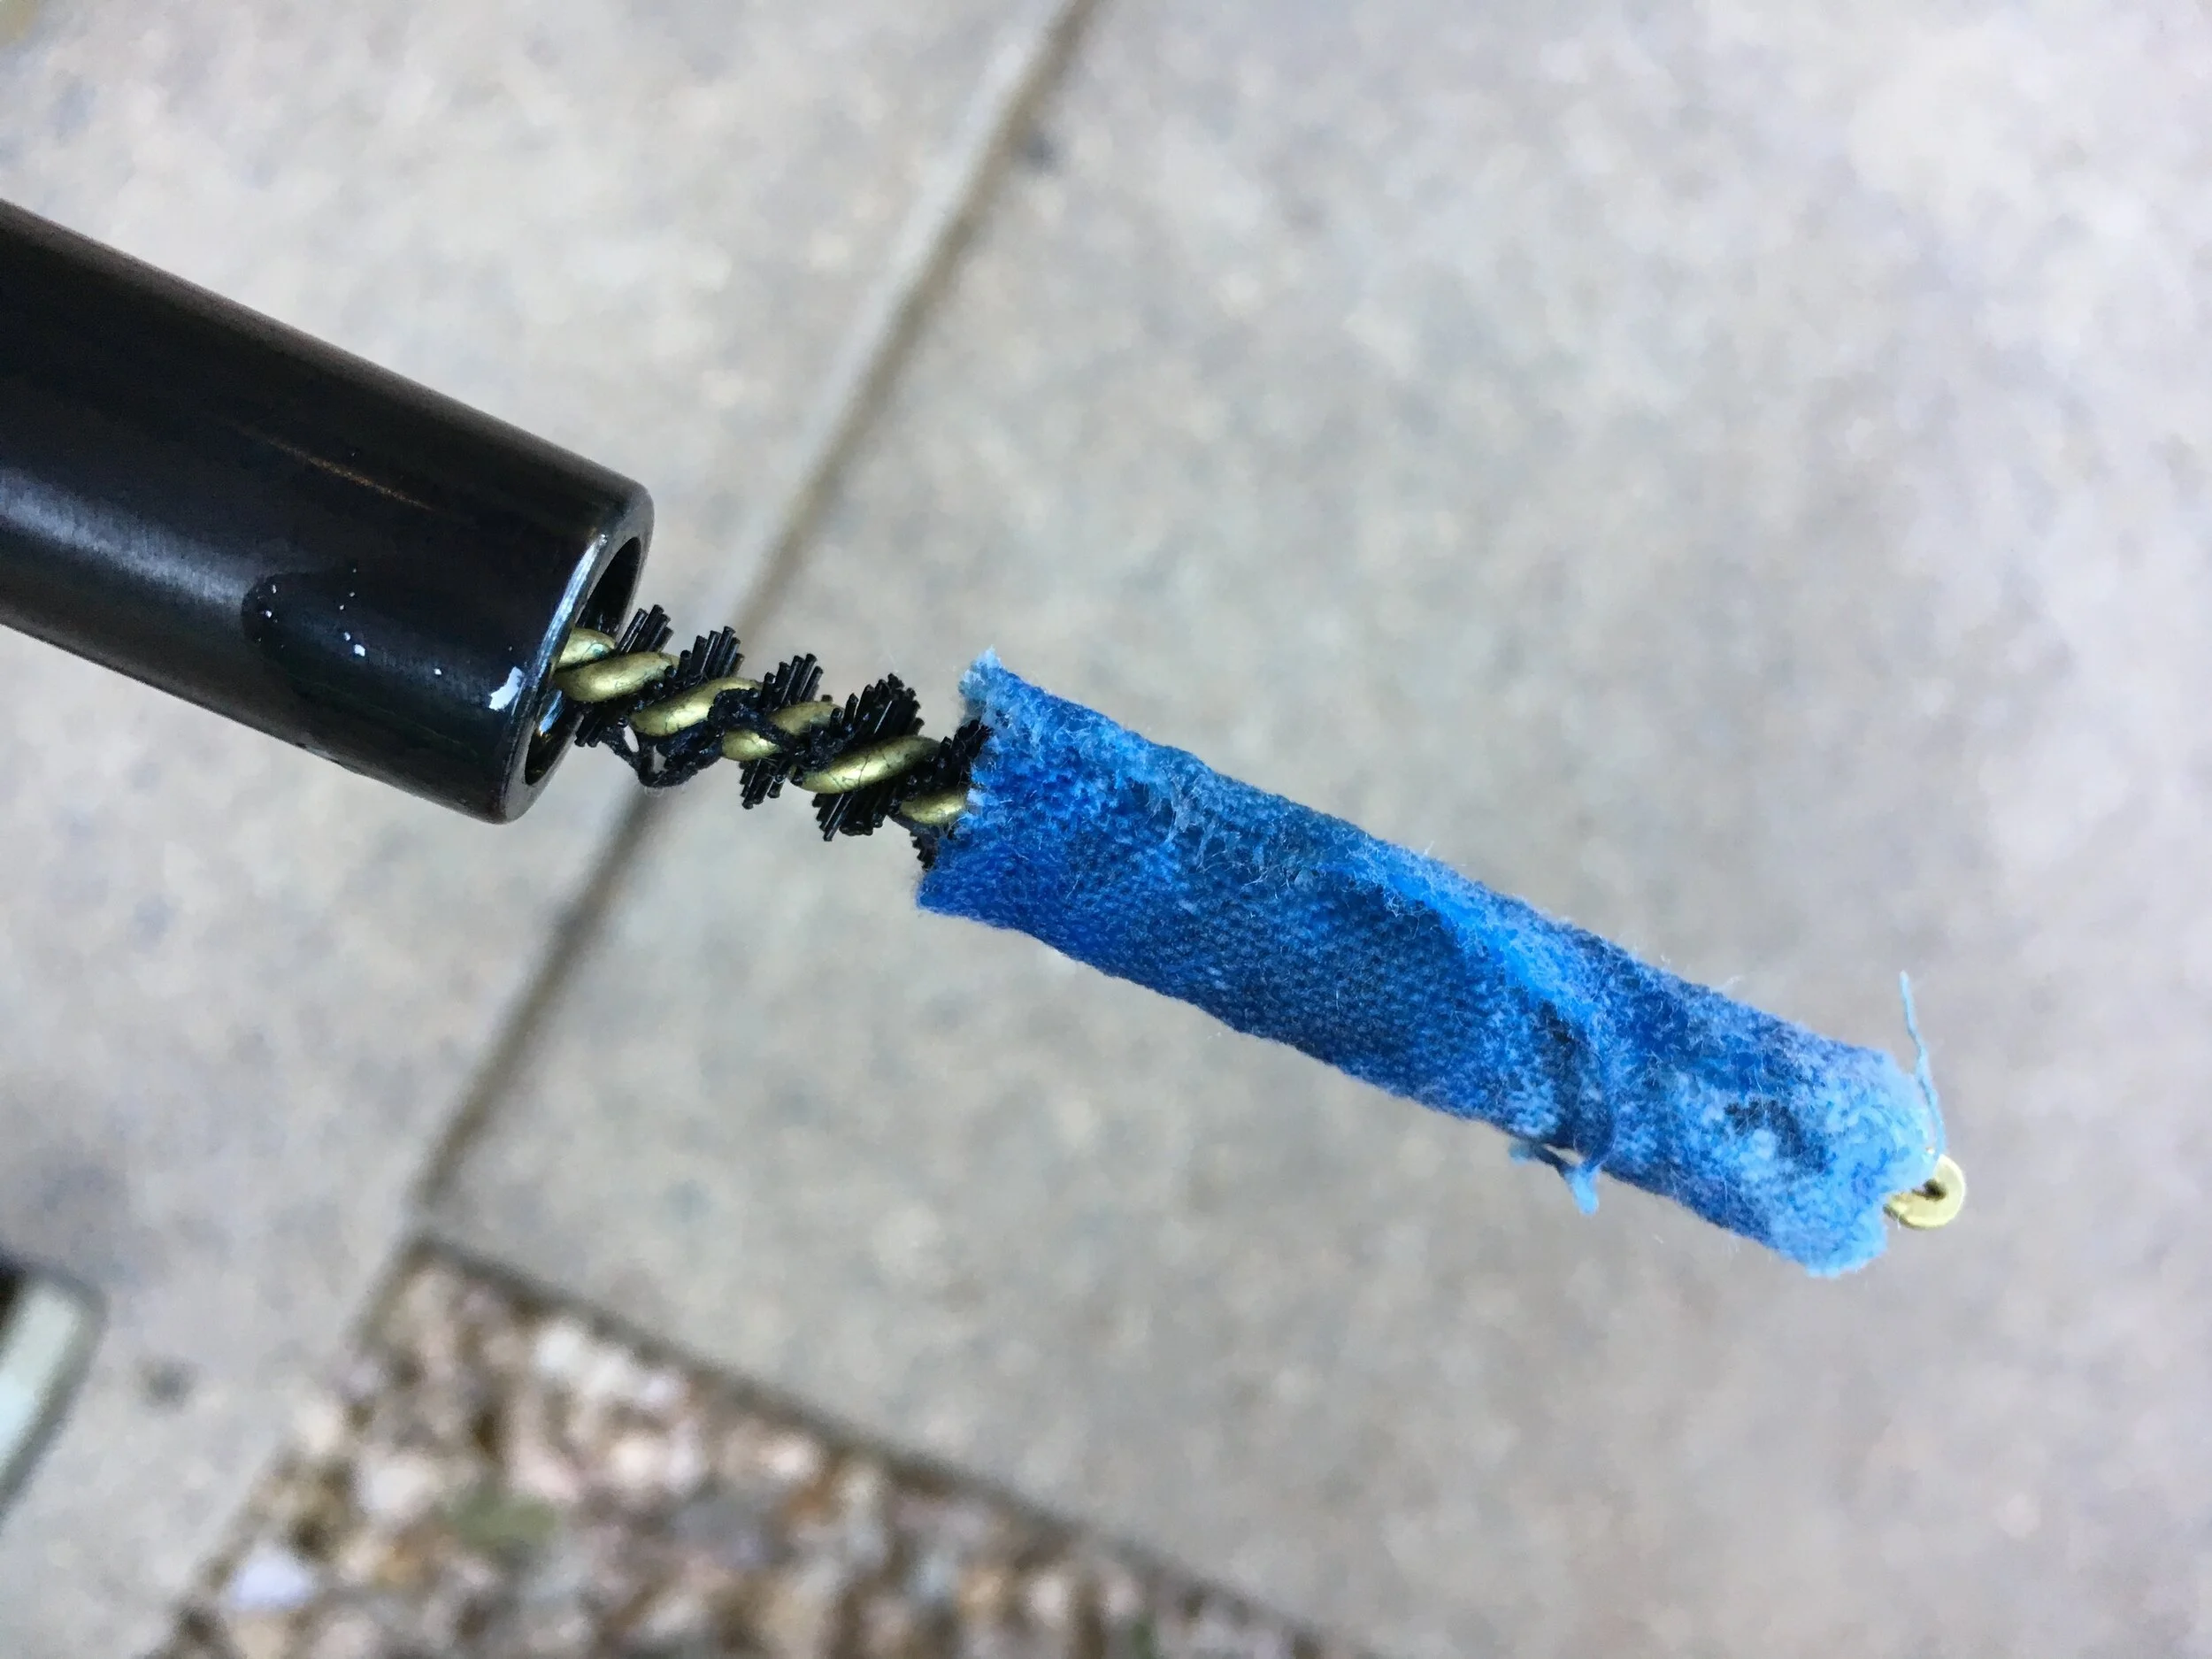
A blue patch indicates your copper solvent has done its job. Patch it out.
After the black powder fouling has been removed, the copper solvent slurry should come out blue. This is the oxidized copper. In rough bores, J-B Bore Compound, a fine-grit polish, helps cut through the copper fouling and speeds things up. Dab the gray paste liberally on the bore brush and work that rod. Flush this out with more copper solvent. You're finished when, after your last treatment of solvent has worked in the barrel for five minutes, the next patch comes out white. Run a light oil patch through, then a dry patch to remove excess oil and shoot a 3-shot group.
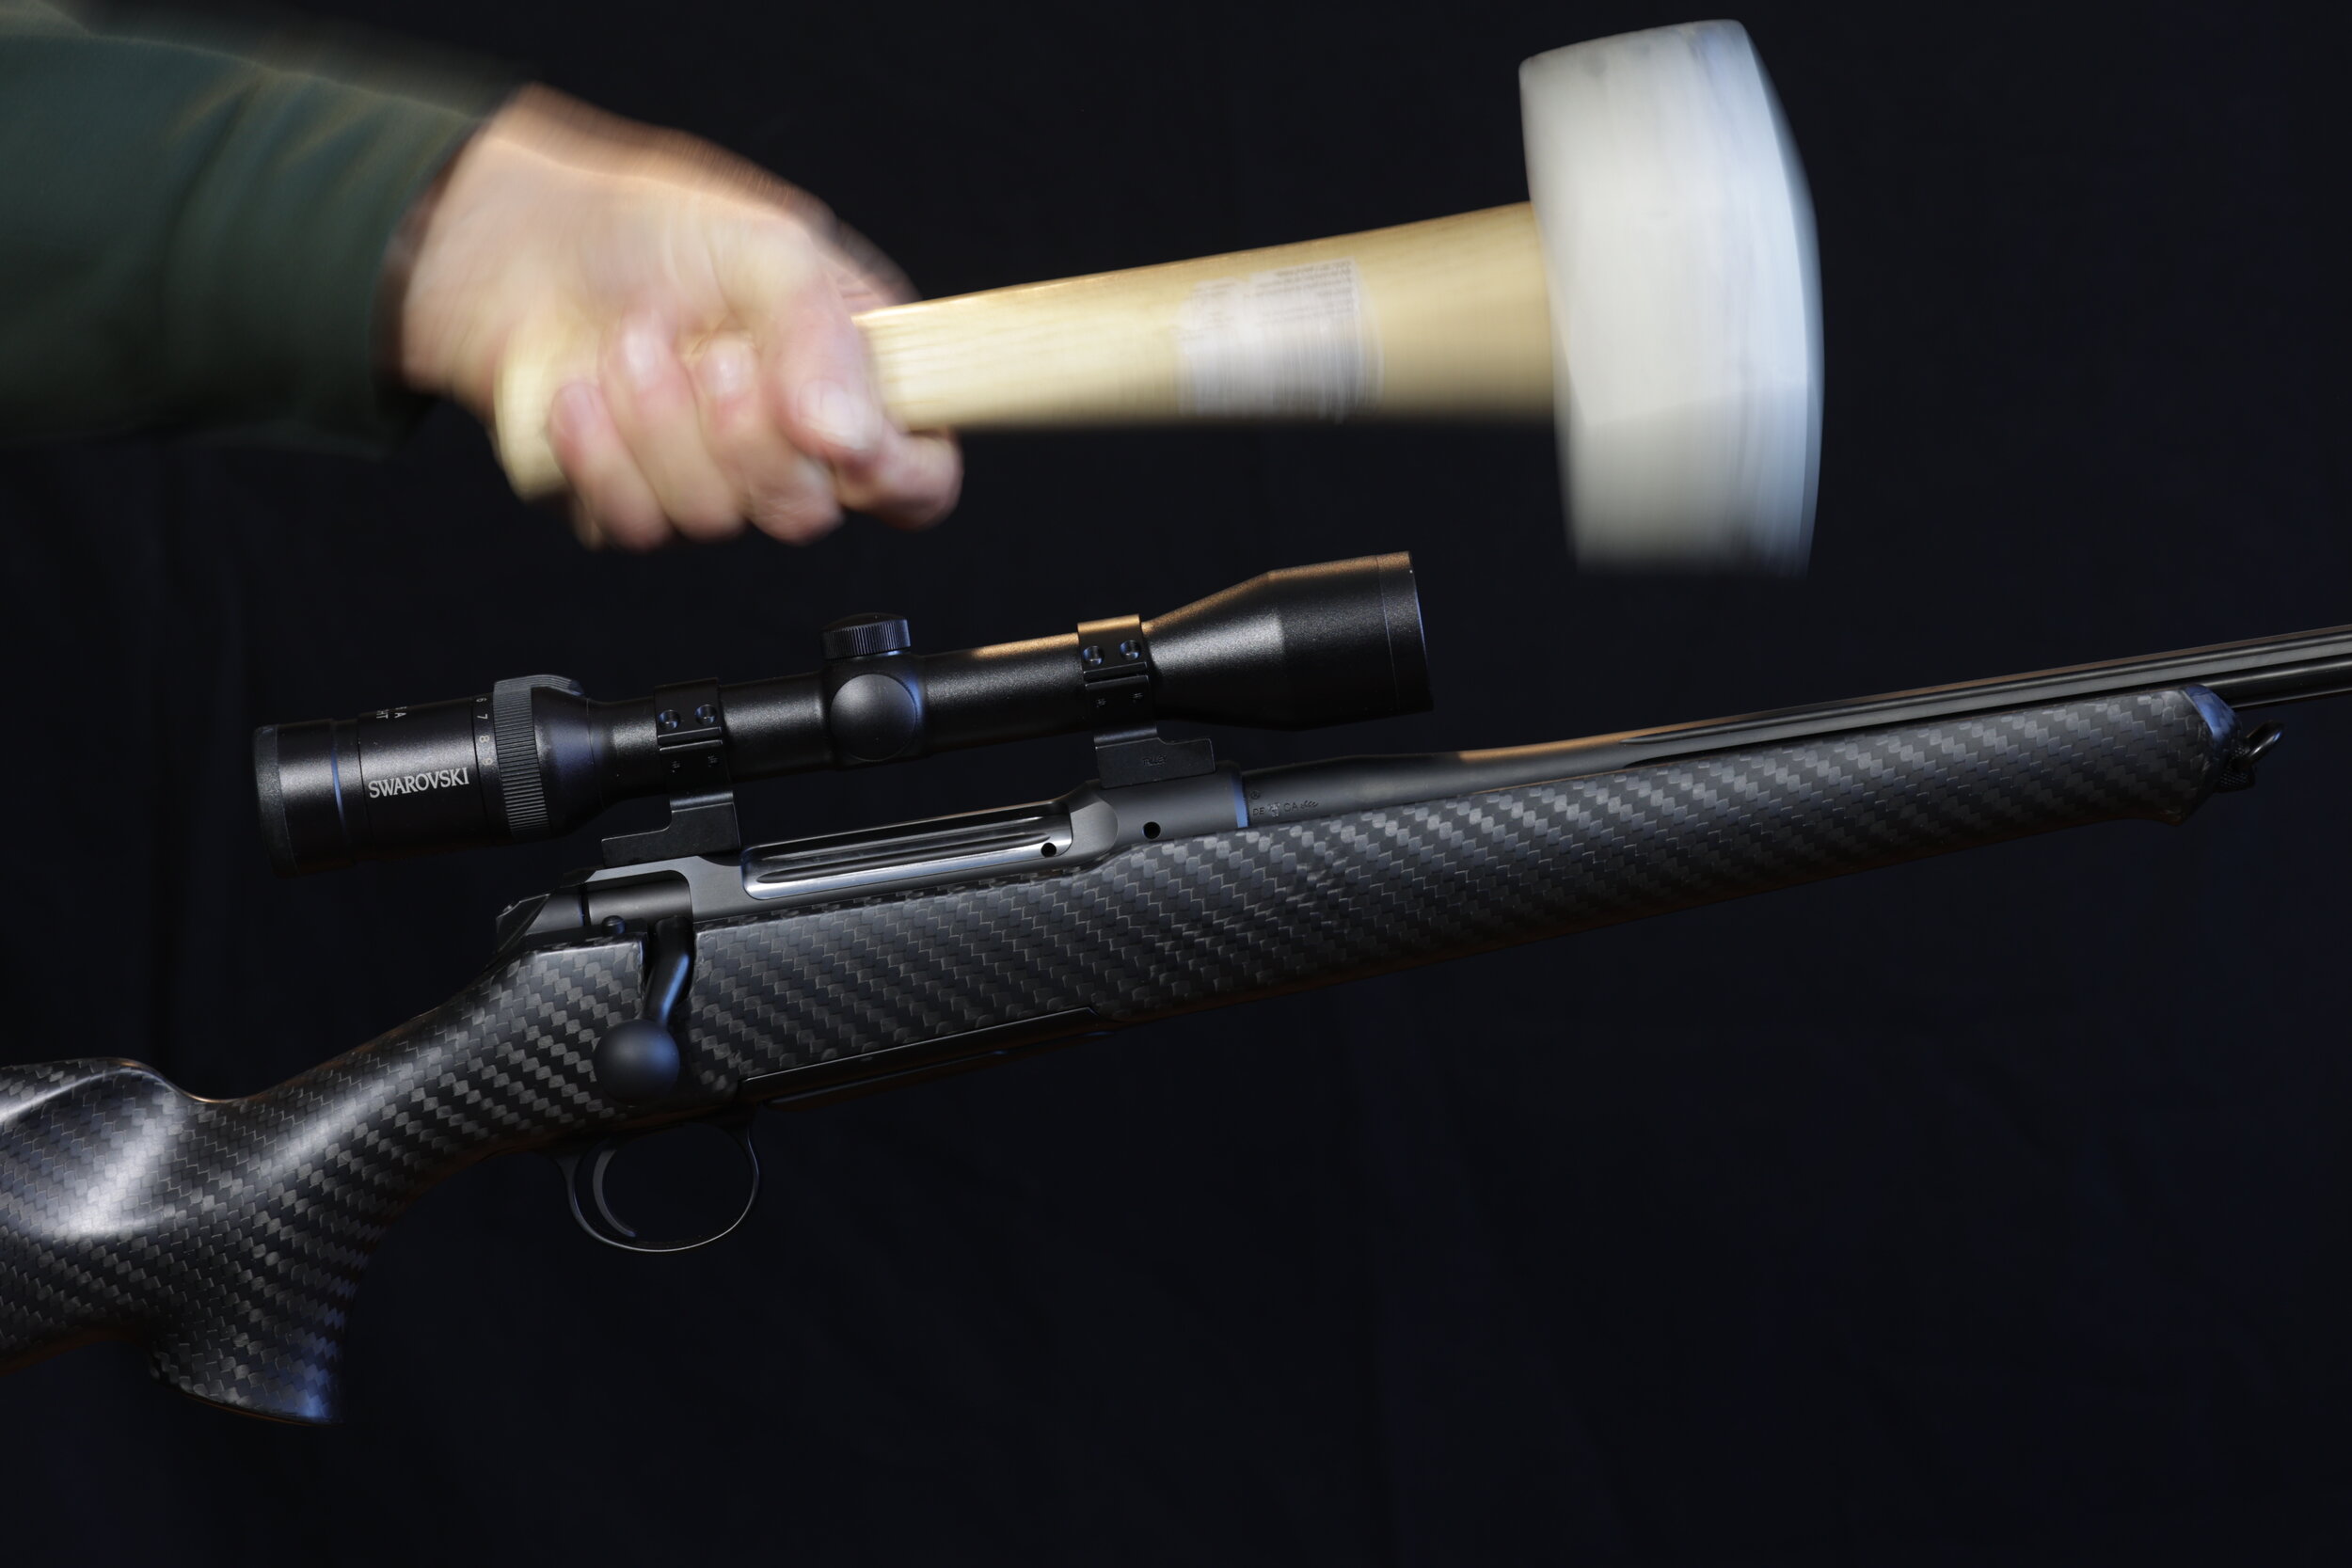
If that cleaning doesn't give you enough accuracy, check the shooter. Often its the person behind the trigger that's inaccurate. Some guys shoot offhand or off truck hoods and then complain about the rifle being inaccurate. Come on guys, let's be fair. We must isolate the launch pad (the firearm) from jerks (that's us) and jerking as much as possible. Use a solid bench (not a card table) and sandbags, a Caldwell Lead Sled, Harris Bipod, Shooters Ridge Gorilla Bag, MTM Shoulder Guard Rifle Rest or the like to minimize all vibrations. And rest the midsection of the forearm stock, NOT the BARREL, on the support. Barrels vibrate violently when a cartridge ignites, and touching them changes bullet impact. Don't press down on the barrel or scope, either. Hold the forearm stock loosely if at all and don't go white knuckled on the pistol grip. This will introduce torque and throw your shots. Concentrate on the sight picture and try to pull straight back on the trigger without disturbing the rifle. Have a buddy try a group or two to see if he shoots better than you. I've seen groups shrink in half with different shooters.

Solid support and careful shooting are necessary to determine what your rifle does, not what you do to screw it up.
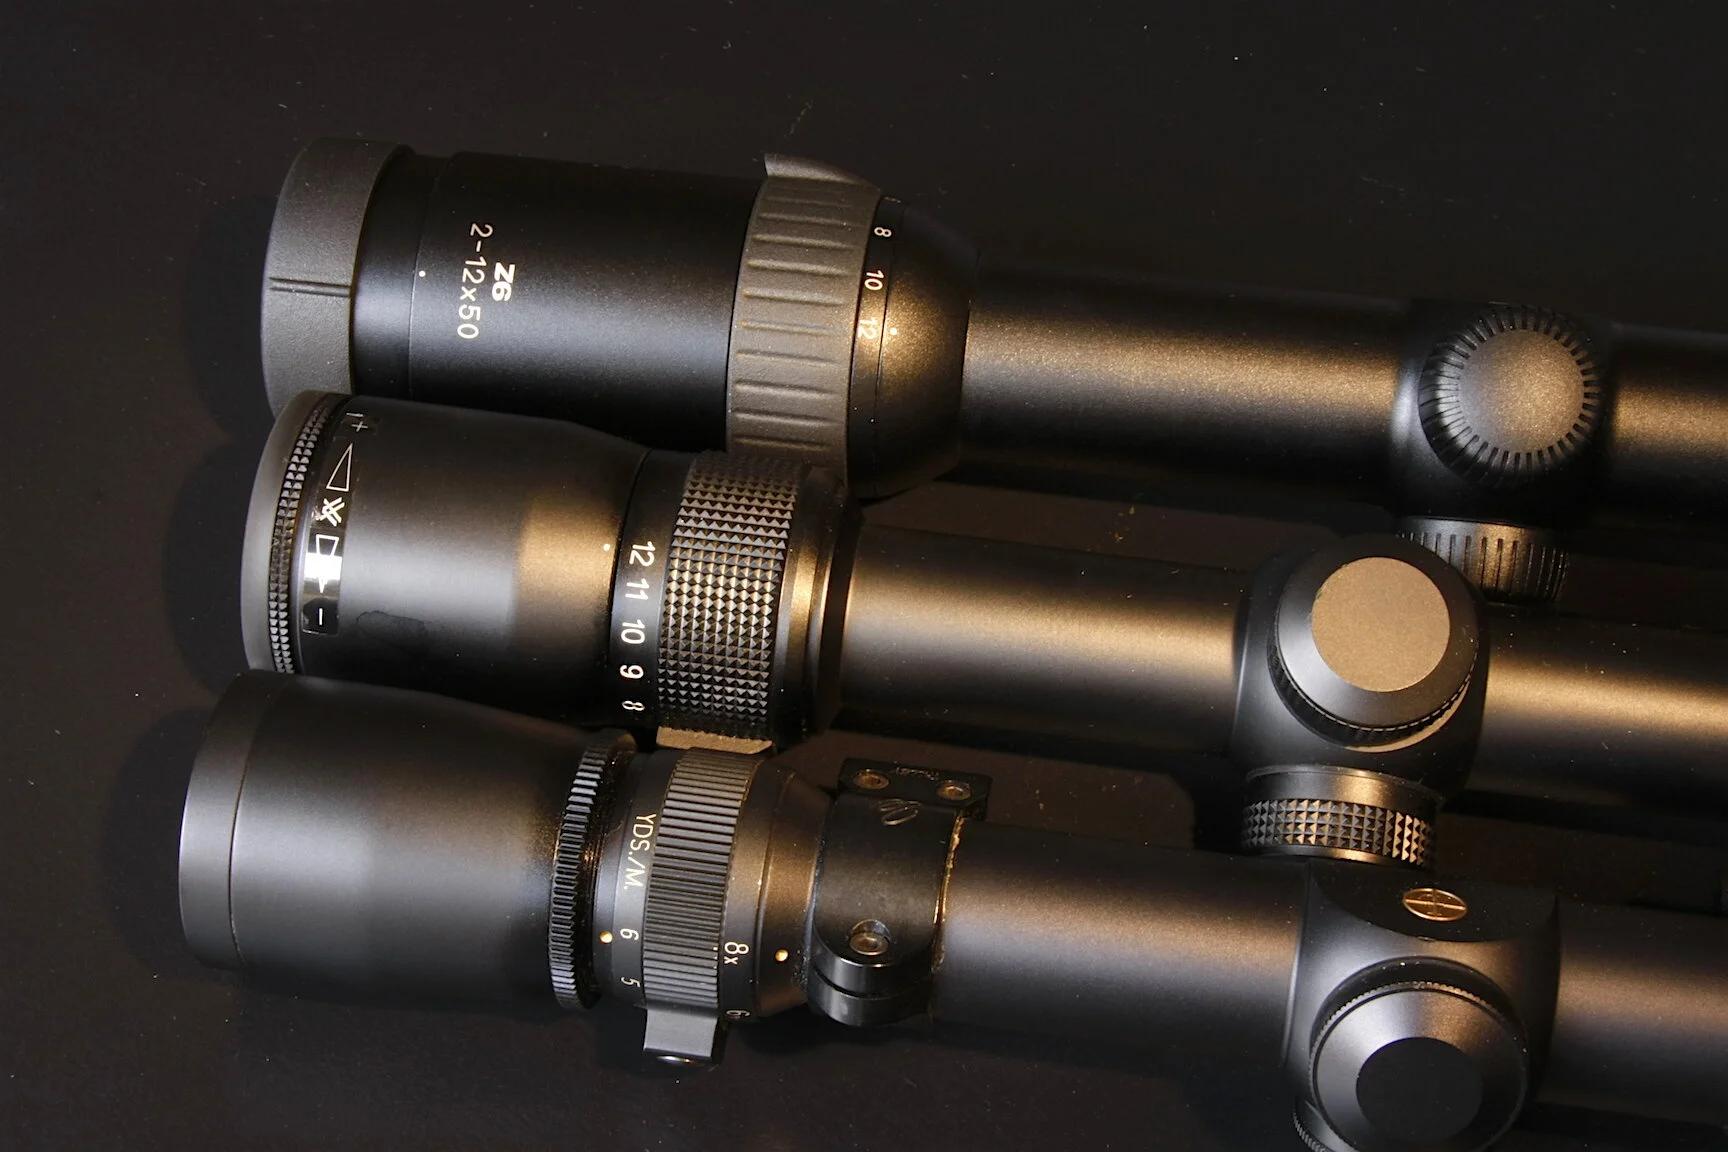
If accuracy remains poor, suspect your scope and mounts before anything else. Screws really do back out. The bases might not feel loose, but tighten them anyway. Ditto the ring screws. A dab of blue #242 LocTite prevents screw-loosening. If that doesn't improve things, try a different scope, one you know is accurate. Yes, scopes can be inaccurate. Cheap metals can wear and stick internally. Erector tube springs can weaken and become erratic. Excessive windage or elevation adjustments can push tubes so hard against springs that they cannot hold zero shot after shot. Excessive internal adjustments to get on target means you should remount and bore sight with windage adjustable bases (Leupold, Burris, Millett, Redfield.) Scopes work best with the reticle close to dead center.
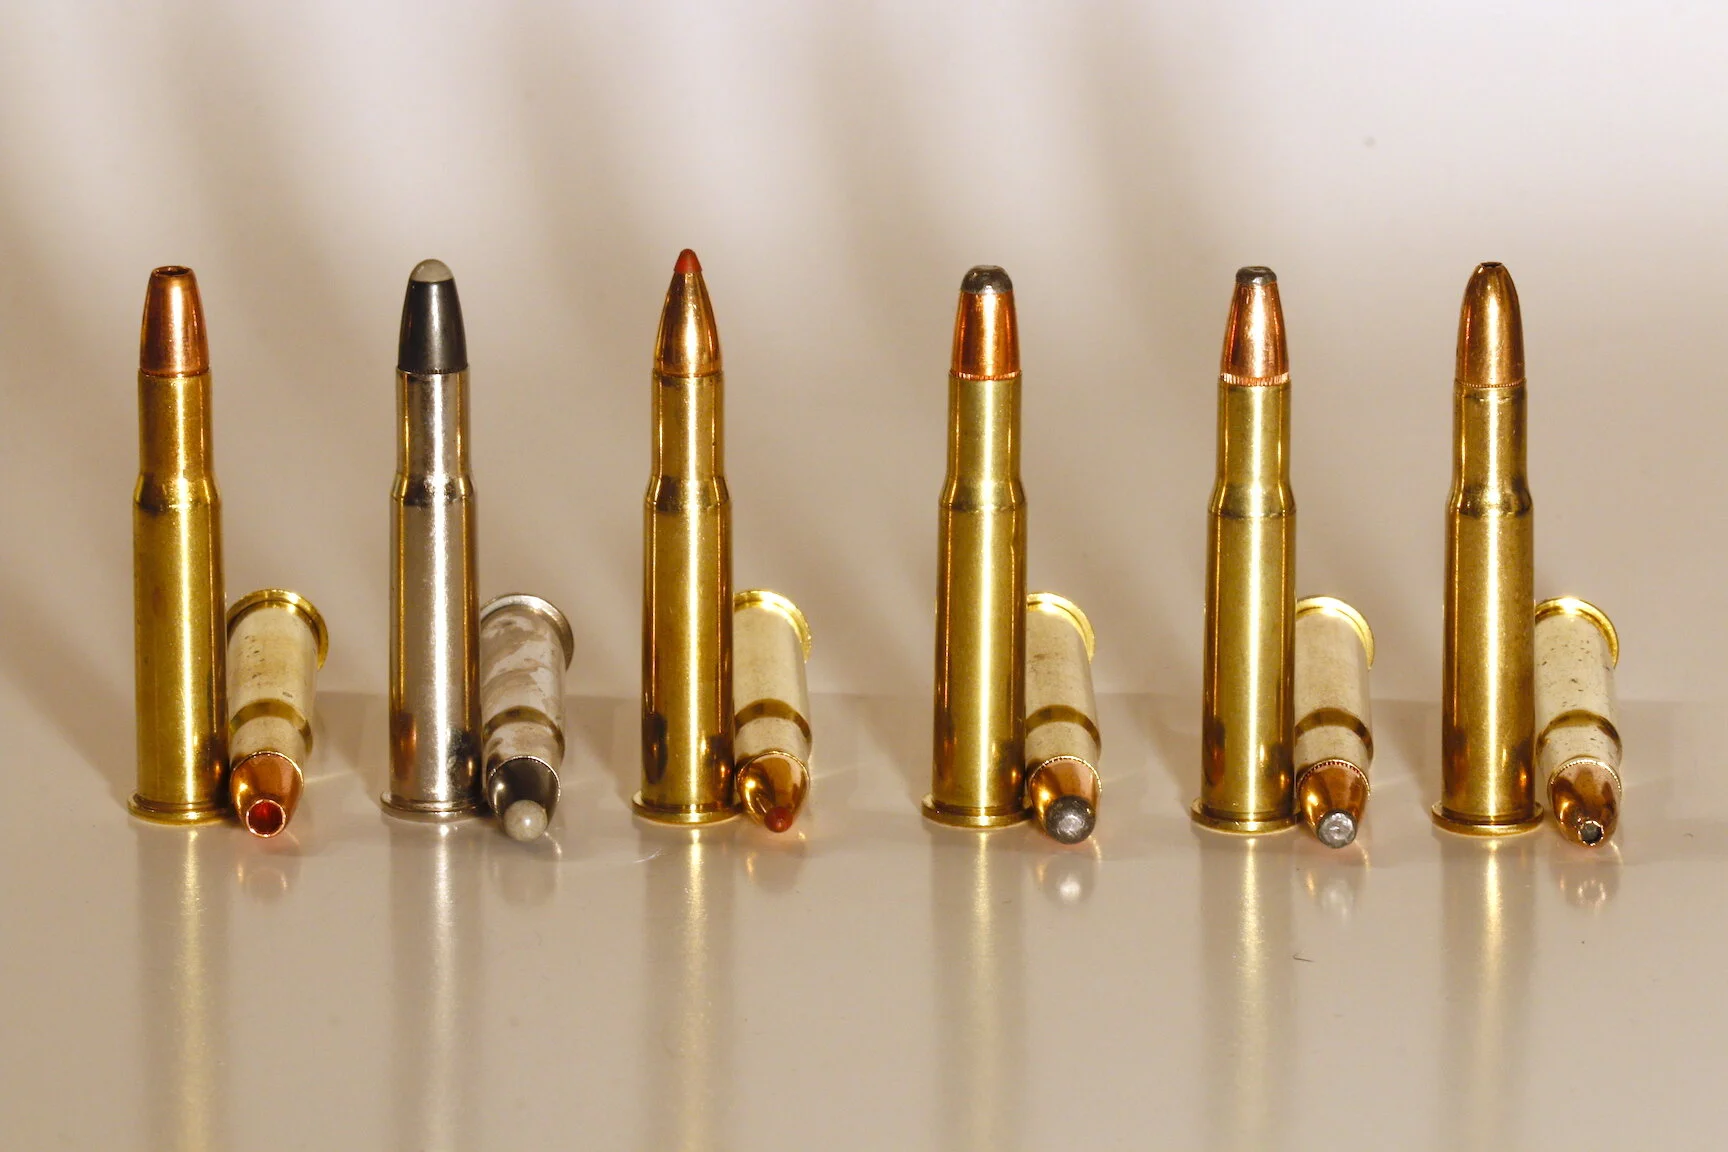
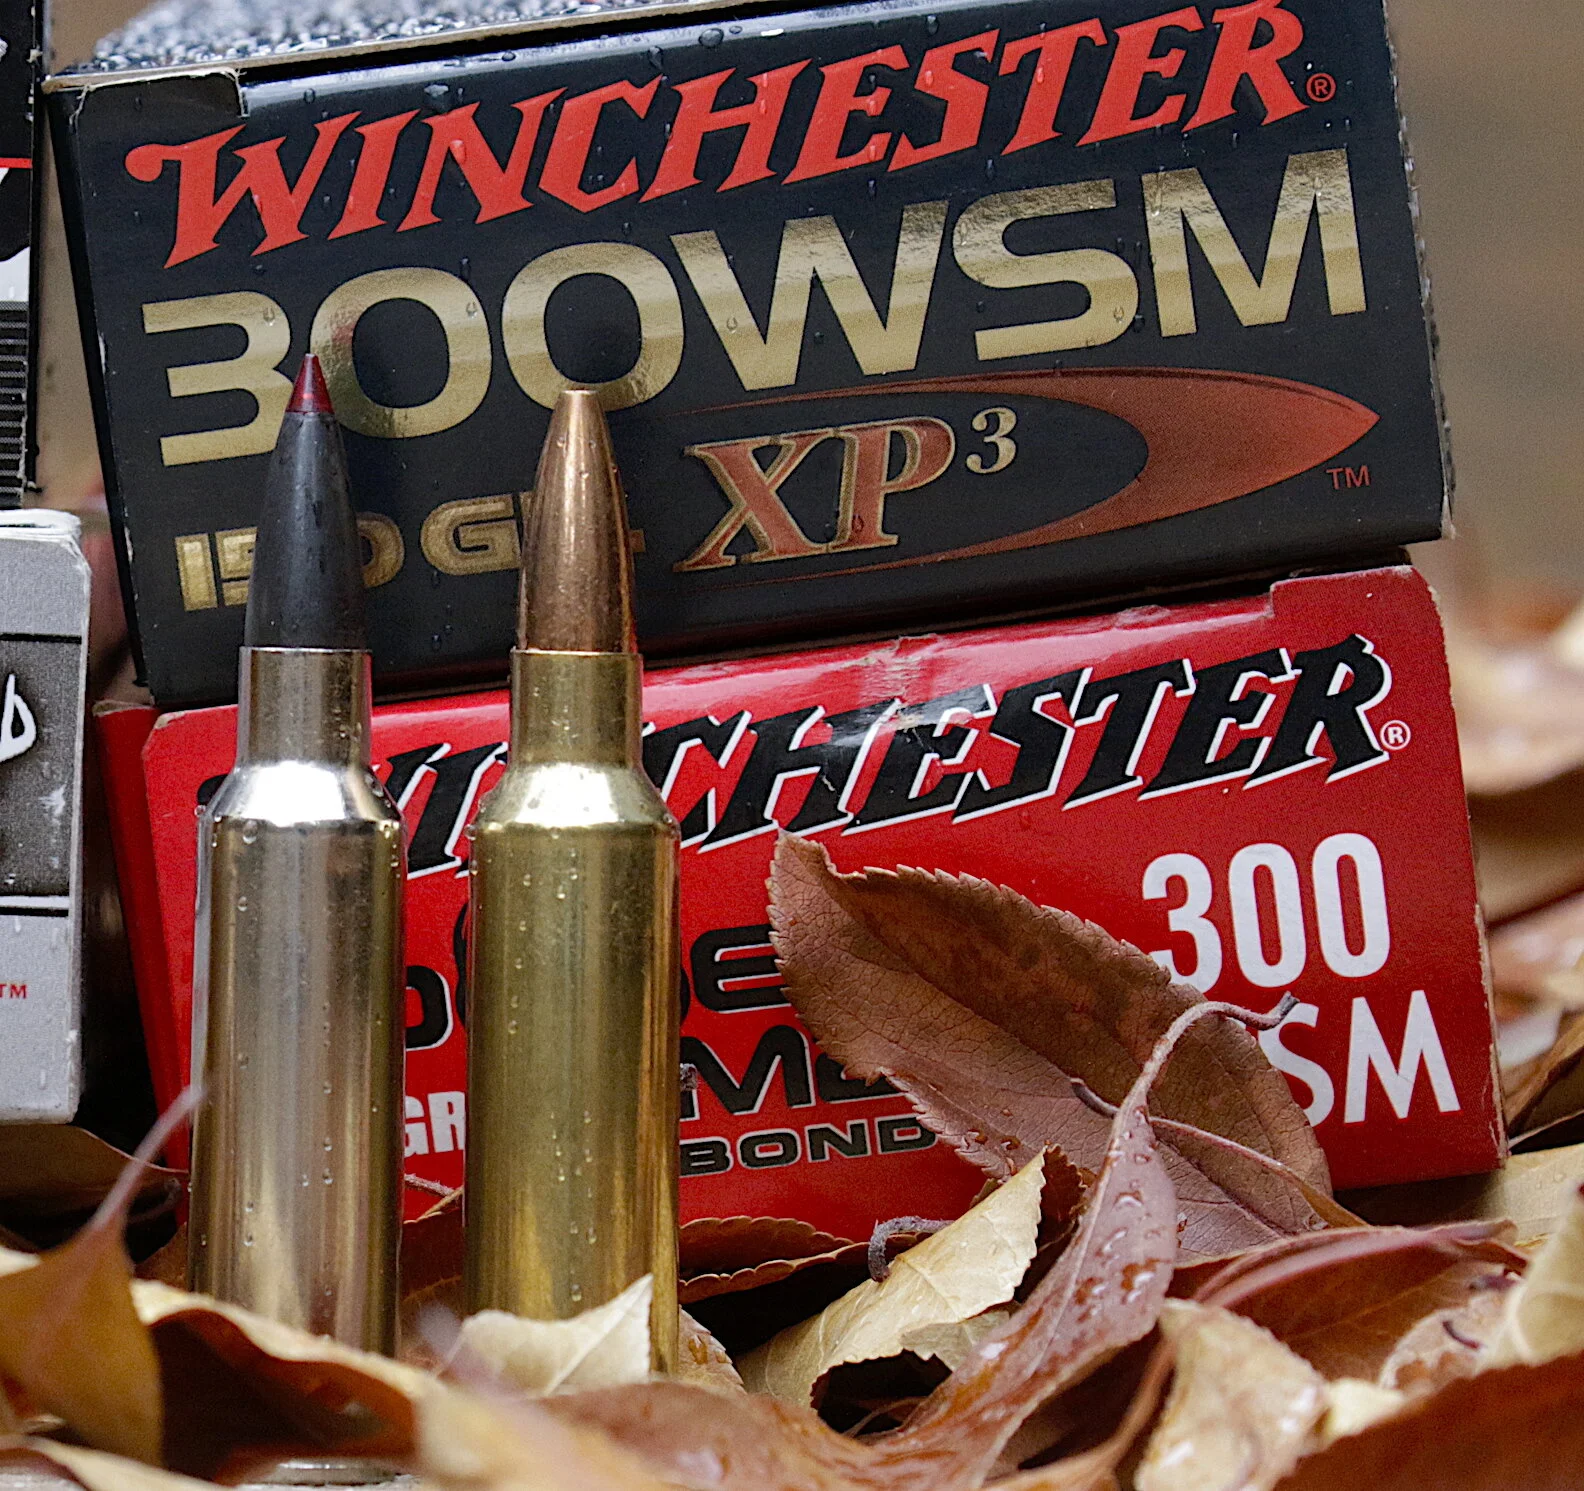
Fourth, try different ammunition/bullets. Some rifles shoot one particular combination of case/primer/powder/bullet accurately and no other, so experiment. Try different brands, but also different bullet weights within each brand. Ideally you should start each test group with a clean barrel, but this isn't mandatory. One exception might be when you test monolithic bullets such as Barnes TSX, Nosler E-Tip and Hornady GMX. They are most accurate from barrels free of other bullet fouling.
Fifth, re-balance the barrel. Browning's BOSS does this. That cylinder at the muzzle can be turned in and out until its weight changes barrel vibrations for best accuracy. The idea is to turn the bullet loose at the split second the muzzle stops between vibration cycles. The Limbsaver De-Resonator, a rubber-like collar you slip over the barrel, works much like the BOSS. Adjust its position until you get maximum accuracy. I've cut group size in half with one of these. It ain't pretty, but it's cheap accuracy.
Sixth, re-crown the muzzle. The bevel at the muzzle must be smooth and consistent or gases will jet around the exiting bullet unequally, destabilizing it. A gunsmith can hone this smooth and precise in seconds. Countersinking the crown protects it from further damage.
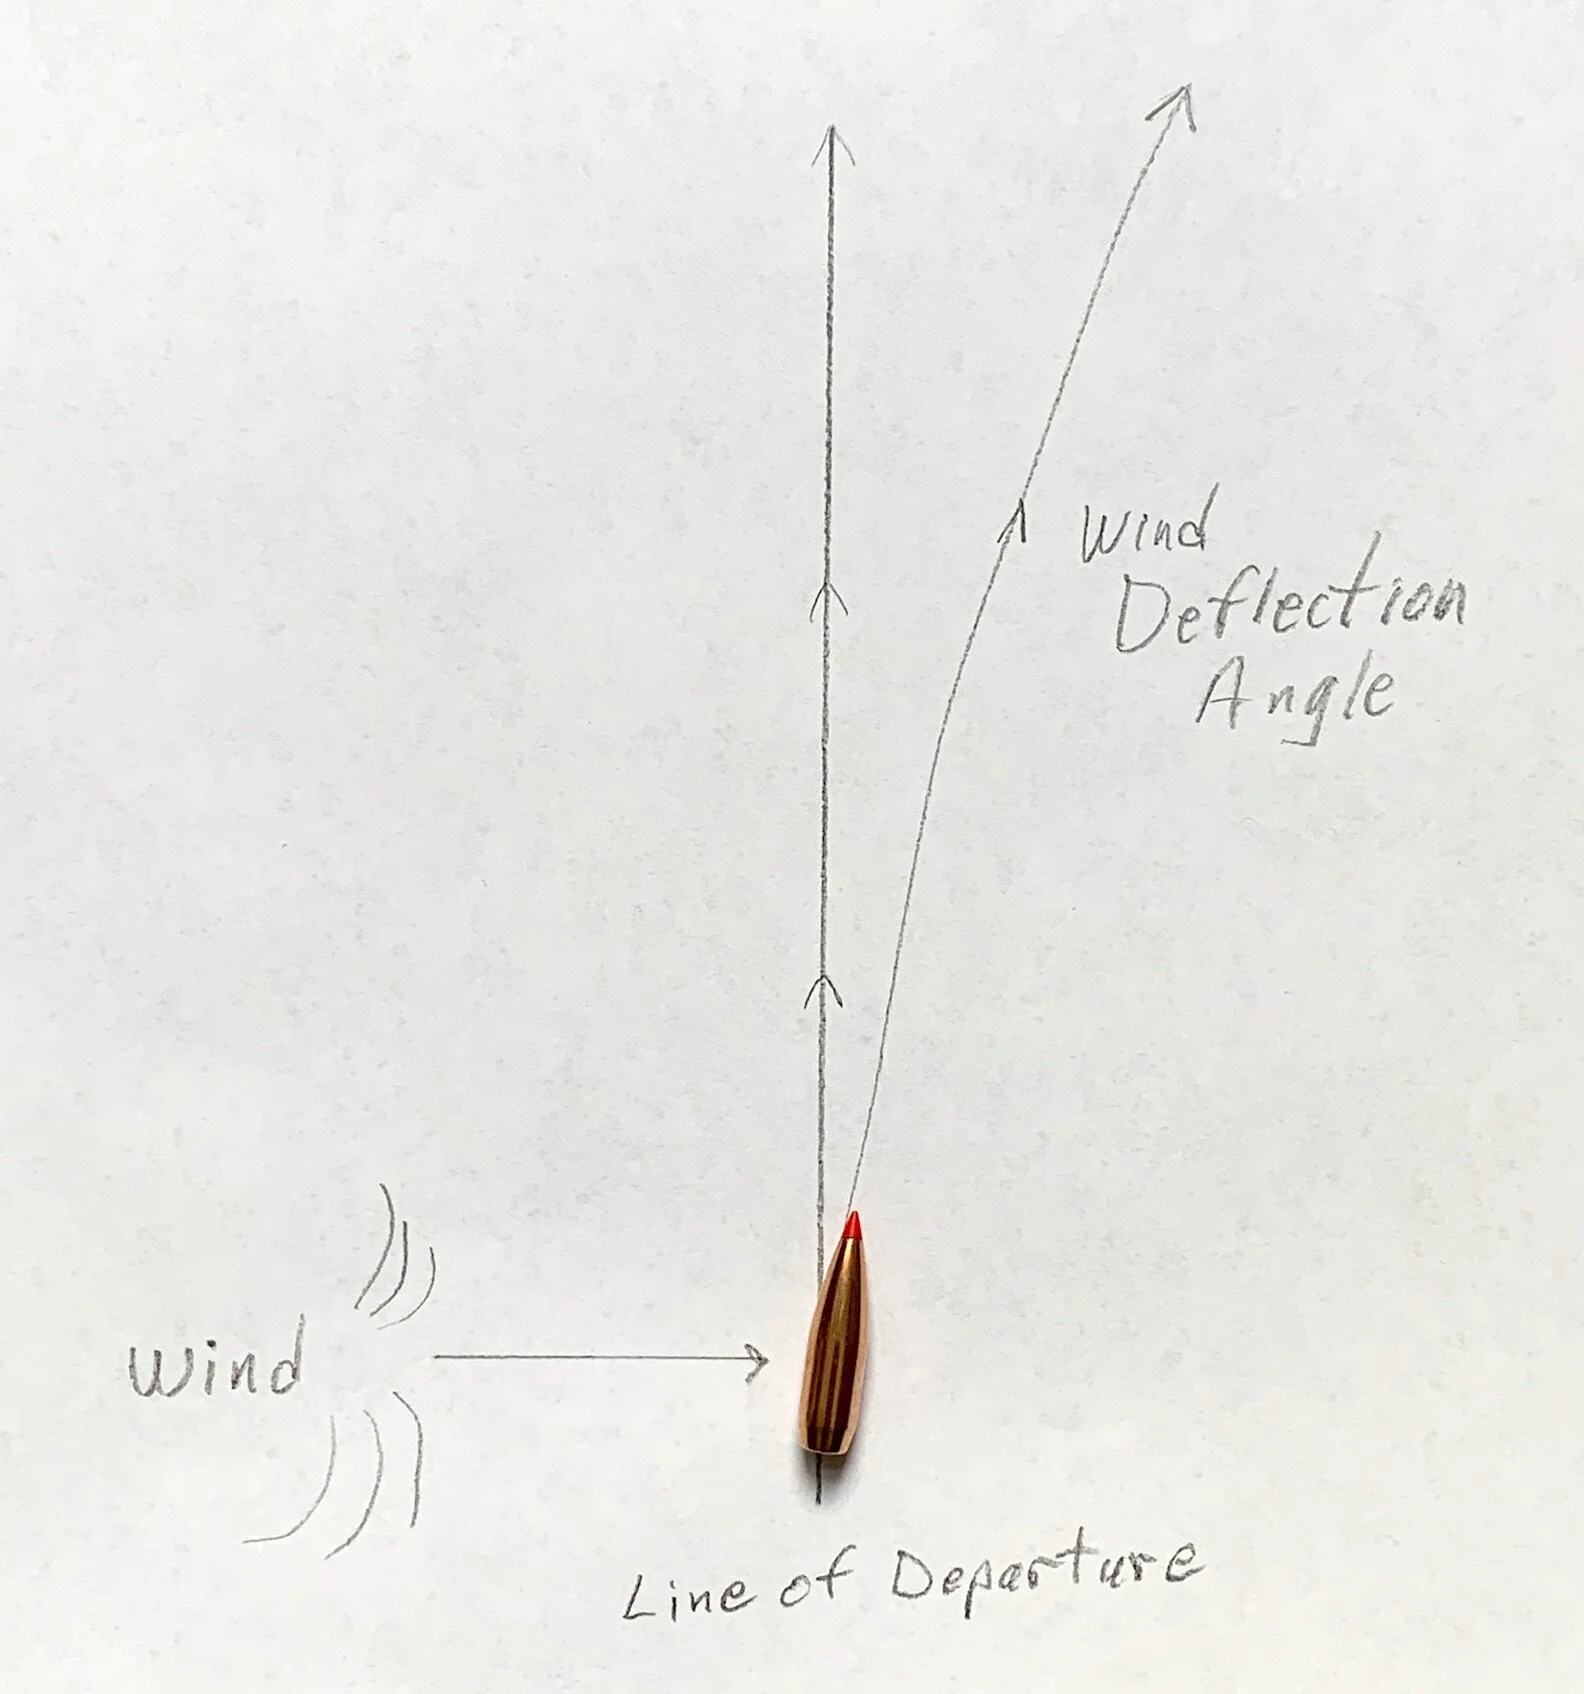
Seventh, check the rifling lands at the throat or leade. You'll need a Hawkeye Borescope to see this internal section of the barrel just ahead of the chamber where it ramps up to the rifling. If this area is lopsided, it was reamed improperly when the barrel was chambered. A good gunsmith should be able to rechamber and straighten this out. On a used gun that has been shot hot too often, the leade might be cracked like an old concrete sidewalk, which tears bullets. A gunsmith might be able to rechamber deep enough to cut this away. Otherwise, time for a new barrel. Push that borescope deeper into the barrel to check for rust pitting. Rust damage doesn't always ruin accuracy, but if nothing else seems to be helping, your inaccuracy is probably due to the pits, and that's the pits. Time to rebarrel. But look on the bright side: you can change chambering or twist rate or both. Make that boring old .308 Win. into a .243 Win, .260 Rem. or even a .22-250 Ackley with a 1-8 twist barrel to stabilize long, heavy bullets that resist wind deflection. Now's the time to experiment and have some fun.
Eighth, investigate the stock and change the bedding if indicated. Stocks influence accuracy by impacting or torquing the barrel or action. If the forearm touches the barrel inconsistently, this could be the problem. To test for it, isolate the barrel from the stock (called freefloating) temporarily by laying shims (cut them with scissors from a Coke can) under the lug and receiver to raise the barrel out of the stock. Retighten the bedding screws, then test fire for groups. If this markedly improves accuracy, you may want to float the barrel permanently by sanding the channel so none of it touches the barrel.

A thickness of 20-bond typing paper should be adequate, but particularly flexible, molded plastic stocks and some wood stocks may need a bit more space in case they warp or swell. Some barrels prefer upward pressure to floating. To test for this, jam a folded business card between forearm tip and barrel. Push it back about an inch. Test fire for group. Add more tension (more cards) and keep testing until you discover the correct upward pressure that stabilizes your barrel for best accuracy. If this works, you can oil the cards and leave them in or replace them with a bump of epoxy. Test fire, sand down the epoxy if necessary, test fire again etc. until reaching desired accuracy. Be forewarned that such pressure point bedding can change if the stock warps.
A more consistent option might be to bed the entire barrel/channel. The thicker the layer of fiberglass/epoxy you build into the forearm, the stiffer and less changeable it should be. You may need to sand quite a bit from the channel to make room for the glass/epoxy. Brownells Acraglas bedding compound is the ticket for this. If you're going to glass-bed the barrel, you might as well go whole hog and glass the recoil lug and action, too. The recoil lug in many rifles flops back and forth within the excess space cut for it in the stock. Not ideal for consistency.
Another problem with some stocks is that they are not cut perfectly flat or evenly where the action rides. This can cause significant rocking or lateral motion, and if you tighten the rear screw to stop it, you torque (bend) the action, which contributes nothing to precision mating of parts, i.e. action/bolt-face to chamber. The result is the bullet enters the bore already out of line. The cure is to glass bed the action. Detailed instructions come with the Brownells GLASBED kit. The idea is to flatten and straighten the floor so the action anchors solidly with no twisting or bending. If you really want to get fancy, add pillar bedding sleeves to your glass bedding operation. These are columns of aluminum inserted into the bedding screw holes (which must be drilled larger.) They fit tight against the action while giving the screw a solid surface on which to bed when tightened. This eliminates crushing the wood or molded plastic stock material and provides a more precise, consistent lock down.
BUY NOW

Ninth, blueprint the action. This is serious gunsmithing work involving squaring all parts to the axis of the bore. The idea is to start every bullet perfectly centered in the bore. This can't happen if, for instance, the barrel is not screwed perfectly straight into the action. Nor if the bolt face doesn't close perfectly flush with the chamber. Nor if the chamber is cut crooked into the barrel. When you hire a gunsmith to blueprint your rifle, he'll do all of this plus square the bolt lugs in their recesses for 100 percent, even contact. Might as well have him do a trigger job while he's at it.
Tenth, fix the trigger! For decades rifles have been sold with “lawyer triggers,” so-called because we've been told gunmakers are afraid of being sued for a trigger that sets off a gun “accidentally.” This might be true, but it might also be an excuse they've used to reduce manufacturing costs. Gunsmiths didn't mind this, because it gave them work. Much of this has changed since Savage came out with its superb AccuTrigger. Now virtually every gunmaker offers a vastly improved trigger. This is good, because it's tough to squeeze accuracy from a rifle when you're squeezing a coarse, heavy trigger so hard that you jerk the rifle off target. However, if your rifle's trigger pulls like it's taking a long ride over a gravel road, either have a gunsmith lighten and smooth it or replace it yourself with an adjustable, aftermarket trigger from Timney or Jewell. They are relatively easy to install with a few simple tools.
Finally, consider handloading! Yup, the final piece of the accuracy puzzle is tailoring loads to your rifle. Handloaders can neck resize or minimally size cases for a precise fit of chamber/bore. They can seat bullets at whatever distance from the lands is best for optimum accuracy. Ditto bullet selection, velocity, powder type, primer brand, etc. If you try all of the above and your gun still doesn't shoot as well as you'd like, sell it and start afresh. But I can't imagine any rifle that won't shoot at least MOA with all the foregoing tricks applied to it. Start with the easy, inexpensive things first and work your way up to the level of accuracy you need.